Normally I try to can a large batch of tomatoes every fall. This fall we were just too busy to do an epic canning session but I still needed to store the boxful of tomatoes we harvested from the garden. I saw this recipe online and new it was the perfect lazy solution!
(I was even lazier about blogging... hence why this is only just getting posted in January...)
Once roasted, the tomatoes can be stored in the freezer and pulled out as required for soups and pasta sauces.
Adapted from David Lebovitz
Ingredients
2 tablespoons olive oil
1 clove garlic, chopped
8 to 10 branches fresh thyme
Spring fresh rosemary
Salt
Pepper
1 pound tomatoes
Directions
Pour the olive oil into a shallow non-metallic baking dish. Add the garlic, thyme, rosemary, salt and pepper.
Cut the tomatoes in half horizontally and remove the stems. Toss the tomatoes in the oil and herbs. Lay the tomatoes cut side down in the dish.
Bake for two hours or until the tomatoes start to wrinkle.
Store in a ziploc bag in the freezer for up to six months.
♥ Amy
Showing posts with label preserves. Show all posts
Friday, January 25, 2013
Friday, December 28, 2012
Cranberry Mostarda
This is one of the first recipes I ever pinned on Pinterest. The original recipe called for cherries but pitting cherries is just so much work so I never got around to making the recipe.
Then when looking for ideas for our Christmas gift baskets, I had the bright idea to make it with cranberries instead!
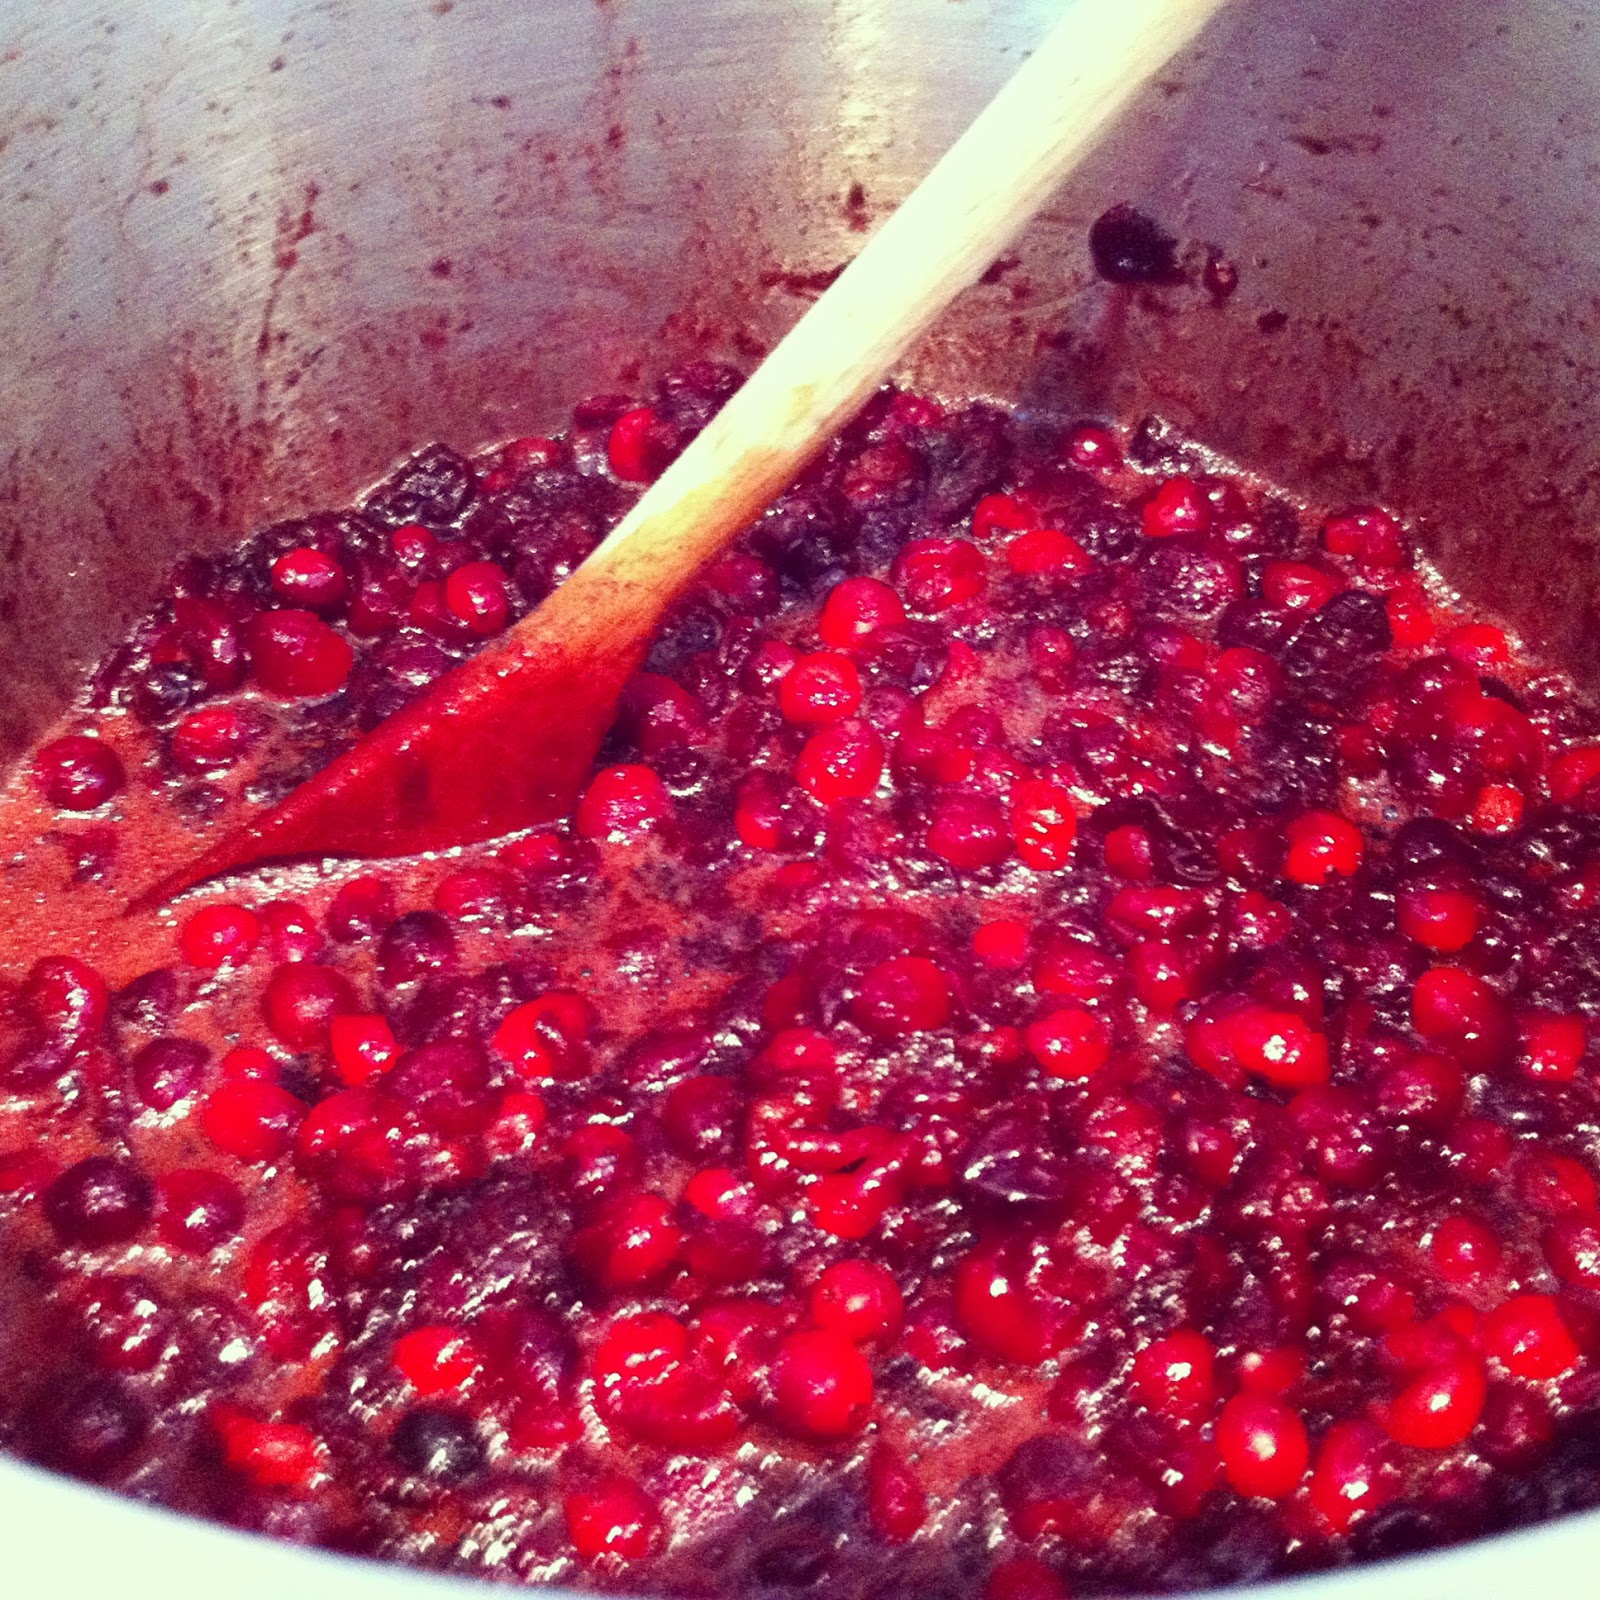
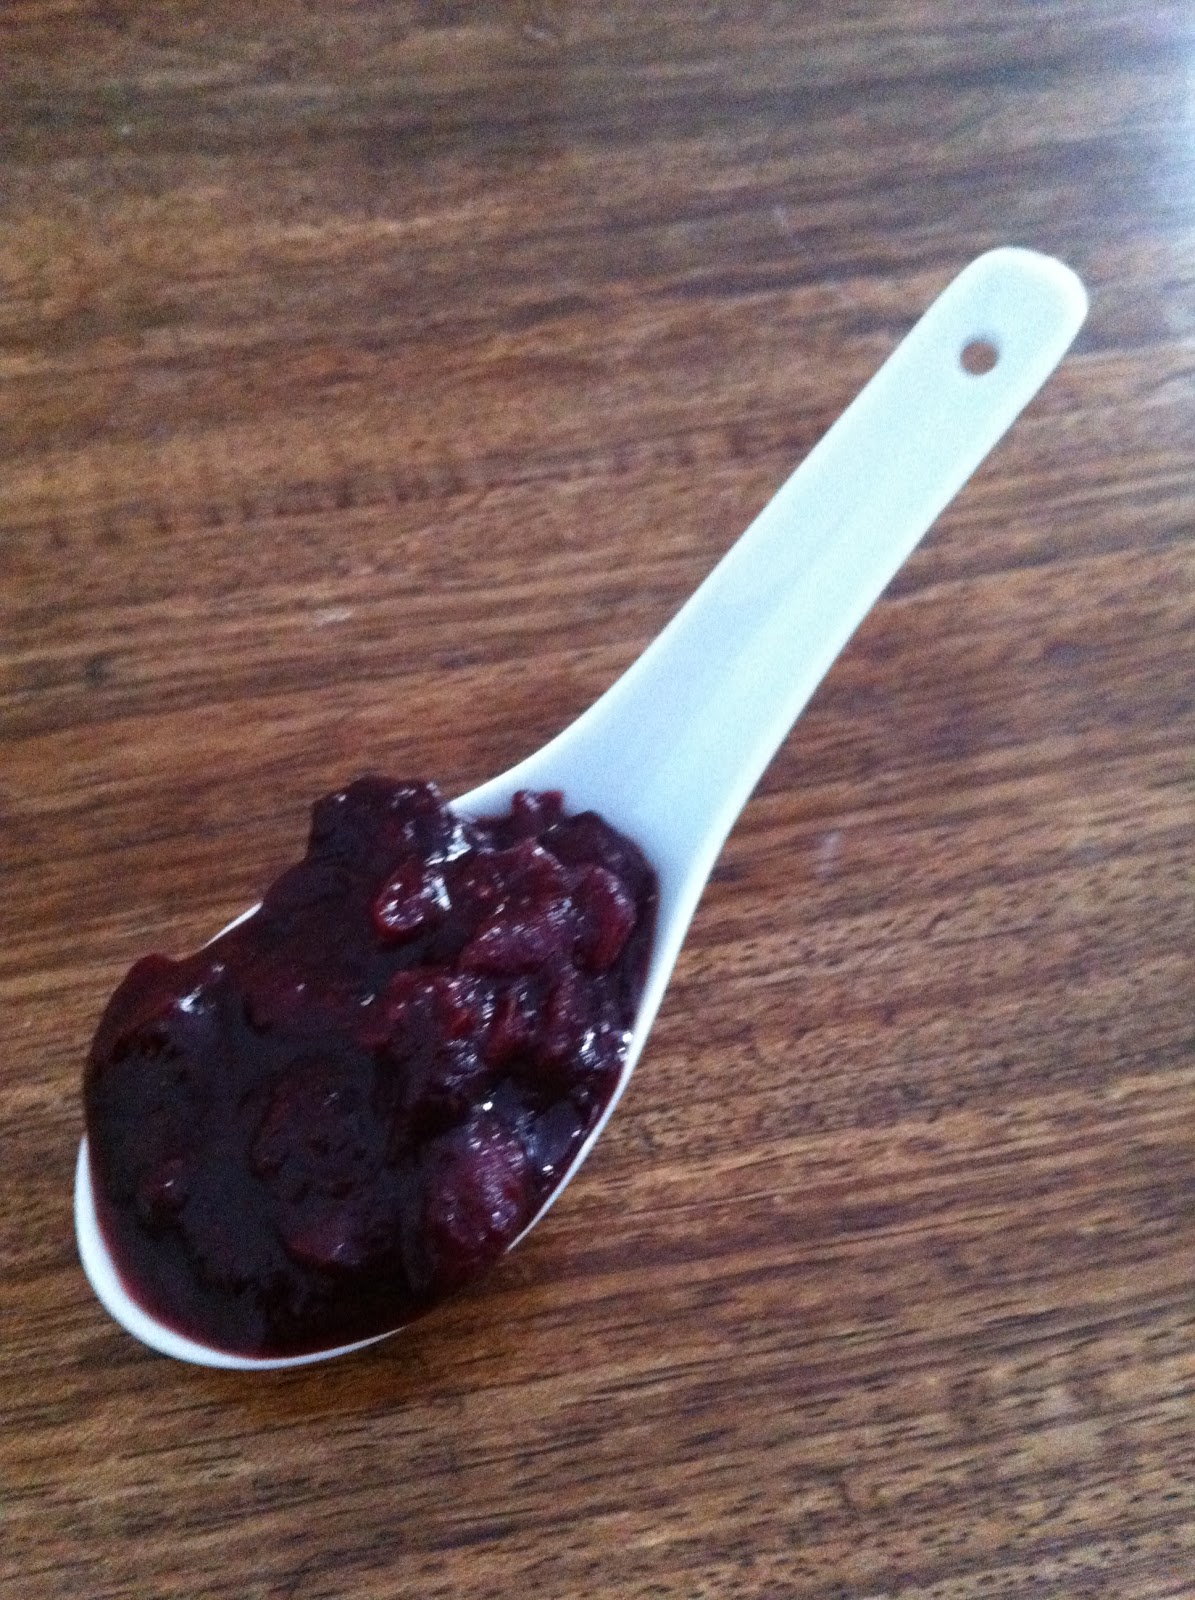
The result is a savoury, rich cranberry sauce that would be fantastic over pork or duck. It would probably also be pretty yummy over melted brie.
Adapted from Family Style Food, makes approximately 3 cups
Ingredients
1 pound cranberries, fresh or frozen
1/3 cup sugar
1/3 cup balsamic vinegar
1/4 cup red wine
1/2 teaspoon sea salt
1/2 teaspoon pepper
1/2 teaspoon allspice
1 tablespoon dijon mustard
Directions
Combine the cranberries, sugar, vinegar, wine and spices in a large saucepan. Simmer over low heat for approximately one hour until thickened.
Stir in the mustard and remove from the heat.
To can, ladle into the prepared jars, leaving 1/4 inch of headspace. Gently tap to remove bubbles, wipe the rim clean and place the lid on the jar. Tighten just until finger tip tight. Process in the boiling water for 10 minutes. Remove the jars without tilting and allow to cool upright for 24 hours. Any jars that have not sealed should be refrigerated. Sealed jars can be stored in a cool, dark place for up to one year.
If you don't want to jar, the sauce can be stored in the refrigerator for up to two weeks.
♥ Amy
Then when looking for ideas for our Christmas gift baskets, I had the bright idea to make it with cranberries instead!
The result is a savoury, rich cranberry sauce that would be fantastic over pork or duck. It would probably also be pretty yummy over melted brie.
Adapted from Family Style Food, makes approximately 3 cups
Ingredients
1 pound cranberries, fresh or frozen
1/3 cup sugar
1/3 cup balsamic vinegar
1/4 cup red wine
1/2 teaspoon sea salt
1/2 teaspoon pepper
1/2 teaspoon allspice
1 tablespoon dijon mustard
Directions
Combine the cranberries, sugar, vinegar, wine and spices in a large saucepan. Simmer over low heat for approximately one hour until thickened.
Stir in the mustard and remove from the heat.
To can, ladle into the prepared jars, leaving 1/4 inch of headspace. Gently tap to remove bubbles, wipe the rim clean and place the lid on the jar. Tighten just until finger tip tight. Process in the boiling water for 10 minutes. Remove the jars without tilting and allow to cool upright for 24 hours. Any jars that have not sealed should be refrigerated. Sealed jars can be stored in a cool, dark place for up to one year.
If you don't want to jar, the sauce can be stored in the refrigerator for up to two weeks.
♥ Amy
Thursday, August 23, 2012
No Sugar Jam
When I first started making jam I was absolutely disgusted by the amount of sugar most recipes call for. After a considerable amount of searching I discovered this recipe and it has been my stand-by recipe ever since.
The amount of sweetener and type of sweetener are completely customizable. Sometimes I use a small amount of honey, 1/4 to 3/4 cup, but typically I use nothing at all. It can also be made with Splenda, stevia or cane sugar - 1 1/2 cups are the amounts recommended in most versions.
This recipe also works with raspberries, peaches, blueberries, cherries, blackberries...
Adapted from Craving Greens, makes about 5 cups
Ingredients
4 cups crushed fruit
1 cup unsweetened apple juice
1 package No Sugar Needed Pectin
Sweetener, optional
1/2 teaspoon butter, optional, reduces foam
1 tablespoon lemon juice
Directions
Sterilize and prepare six 250 ml jars with lids. Fill a canner with enough water to cover the jars by 1" and bring to a boil.
In a medium saucepan, combine the crushed fruit and juice. Add the lemon juice, butter and pectin. Stir until dissolved.
Bring the mixture to a boil over high heat, stirring constantly. If using sweetener, add the sweetener to the boiling mixture. Stir until it returns to a full boil. Boil for 3 minutes.
Remove from the heat and skim off any foam.
Ladle into the prepared jars, leaving 1/4 inch of headspace. Gently tap to remove bubbles, wipe the rim clean and place the lid on the jar. Tighten just until finger tip tight.
Process in the boiling water for 10 minutes. Remove the jars without tilting and allow to cool upright for 24 hours.
Any jars that have not sealed should be refrigerated. Sealed jars can be stored in a cool, dark place for up to one year.
♥ Amy
The amount of sweetener and type of sweetener are completely customizable. Sometimes I use a small amount of honey, 1/4 to 3/4 cup, but typically I use nothing at all. It can also be made with Splenda, stevia or cane sugar - 1 1/2 cups are the amounts recommended in most versions.
This recipe also works with raspberries, peaches, blueberries, cherries, blackberries...
Adapted from Craving Greens, makes about 5 cups
Ingredients
4 cups crushed fruit
1 cup unsweetened apple juice
1 package No Sugar Needed Pectin
Sweetener, optional
1/2 teaspoon butter, optional, reduces foam
1 tablespoon lemon juice
Directions
Sterilize and prepare six 250 ml jars with lids. Fill a canner with enough water to cover the jars by 1" and bring to a boil.
In a medium saucepan, combine the crushed fruit and juice. Add the lemon juice, butter and pectin. Stir until dissolved.
Bring the mixture to a boil over high heat, stirring constantly. If using sweetener, add the sweetener to the boiling mixture. Stir until it returns to a full boil. Boil for 3 minutes.
Remove from the heat and skim off any foam.
Ladle into the prepared jars, leaving 1/4 inch of headspace. Gently tap to remove bubbles, wipe the rim clean and place the lid on the jar. Tighten just until finger tip tight.
Process in the boiling water for 10 minutes. Remove the jars without tilting and allow to cool upright for 24 hours.
Any jars that have not sealed should be refrigerated. Sealed jars can be stored in a cool, dark place for up to one year.
♥ Amy
Friday, November 11, 2011
Pepper Jelly
From Bernardin Complete Book of Home Preserving, makes five 8 ounce jars
12 ounces jalapeƱo peppers, stemmed and seeded
2 cups apple cider vinegar
6 cups sugar
2 pouches pectin
Sterilize the jars and lids. Fill the canner with water and bring to a boil.
In a food processor, puree the peppers and 1 cup of the vinegar until smooth. Transfer to a large saucepan. Add the remaining vinegar and the sugar. Bring to a boil over high hear. Stirring constantly, boil for 10 minutes. Stir in the pectin and continuing boiling for another minute. Remove from the heat and skim off any foam.
Pour the jelly into the prepared jars. Leave 1/4 inch of headspace. Wipe rim clean and fasten lid.
Process the jars for 10 minutes in the boiling water bath. Remove the jars and allow to cool.
Amy
12 ounces jalapeƱo peppers, stemmed and seeded
2 cups apple cider vinegar
6 cups sugar
2 pouches pectin
Sterilize the jars and lids. Fill the canner with water and bring to a boil.
In a food processor, puree the peppers and 1 cup of the vinegar until smooth. Transfer to a large saucepan. Add the remaining vinegar and the sugar. Bring to a boil over high hear. Stirring constantly, boil for 10 minutes. Stir in the pectin and continuing boiling for another minute. Remove from the heat and skim off any foam.
Pour the jelly into the prepared jars. Leave 1/4 inch of headspace. Wipe rim clean and fasten lid.
Process the jars for 10 minutes in the boiling water bath. Remove the jars and allow to cool.
Amy
Labels:
canning,
local,
preserves,
self sufficient,
vegetable,
vegetarian
Friday, October 28, 2011
Tomato Chile Jelly
I have been madly searching for ways to preserve our beautiful heirloom tomatoes because our plants are producing faster than we can eat this year.
From Forgotten Skills of Cooking by Darina Allen
18 ounces tomatoes, peeled and chopped
2 to 4 red chiles
4 cloves garlic
1 inch piece fresh ginger, peeled
2 tablespoons fish sauce
1 1/4 cup sugar
1/2 cup apple cider vinegar
In a food processor, puree the chiles, garlic, ginger and fish sauce until smooth. Transfer the puree to a large saucepan and add the sugar, vinegar and tomatoes. Bring to a boil, stirring constantly. Cook gently for 30 minutes, stirring occasionally, until thickened. Remove from heat.
Transfer to sterilized jars. The jelly can be eaten immediately or processed for 10 minutes in a boiling water bath.
Amy
From Forgotten Skills of Cooking by Darina Allen
18 ounces tomatoes, peeled and chopped
2 to 4 red chiles
4 cloves garlic
1 inch piece fresh ginger, peeled
2 tablespoons fish sauce
1 1/4 cup sugar
1/2 cup apple cider vinegar
In a food processor, puree the chiles, garlic, ginger and fish sauce until smooth. Transfer the puree to a large saucepan and add the sugar, vinegar and tomatoes. Bring to a boil, stirring constantly. Cook gently for 30 minutes, stirring occasionally, until thickened. Remove from heat.
Transfer to sterilized jars. The jelly can be eaten immediately or processed for 10 minutes in a boiling water bath.
Amy
Labels:
canning,
garden,
local,
preserves,
self sufficient,
thai,
vegetable,
vietnamese
Saturday, October 15, 2011
Green Tomato Pickles
This year I didn't have the time or patience to wait for my box of green tomatoes to ripen so I decided to do something different - eat them!
Making green tomato pickles is essentially the same as making traditional dill pickles. The best part - the acid from tomatoes and vinegar mean that a boiling water bath is not necessary.
Adapted from Williams Sonoma: The Art of Preserving, makes 6 quart jars
2 1/2 pounds green cherry tomatoes
2 cups cider vinegar
4 cups water
1/2 cup kosher salt
12 bay leaves
2 tablespoons picking spice
6 cloves garlic
6 teaspoons dill seed
6 teaspoons dill
3/4 teaspoon celery seeds
In a sauce pan, combine the vinegar, water and salt. Bring to a boil, stirring to dissolve salt.
In each jar place 2 bay leaves, 1 teaspoon pickling spice, a garlic clove, 1 teaspoon dill seed, 1 teaspoon dill and 1/8 teaspoon celery seed. Pack the tomatoes into the jars leaving about 1 inch of room at the top of the jars.
Ladle the boiling brine into the jars, leaving 1/2 inch of headspace. Wipe the rims clean and tightly seal the lids.
Let the pickles sit for at least two weeks to allow the flavours to develop.
Amy
Labels:
canning,
garden,
local,
pickles,
preserves,
self sufficient,
vegetable,
vegetarian
Thursday, October 13, 2011
Kim Chi
Kim Chi is the spicy Korean version of sauerkraut. It is served as a condiment with most Korean dishes.
It is traditionally done with Napa cabbage but I used the standard green cabbage from our CSA baskets. If you can not find the Korean chili powder (gochugaru) you can use Chili Garlic Sauce.
Adapted from Mark's Daily Apple
3 pounds cabbage
3/4 cup kosher salt
8 to10 cloves of garlic, peeled
4 inch piece of ginger, peeled and roughly chopped
3 tablespoons fish sauce
1 tablespoon honey
1/2 to 3/4 cup Korean red chili powder
8 to10 scallions, chopped into 1 inch pieces
Cut the cabbages lengthwise into quarters and then across into 1 inch thick ribbons. In a big bowl, dissolve the salt in 8 cups of cold water. Transfer the cabbage to the bowl and use your hands to toss it in the salt water. Cover the bowl with a towel and leave it to rest for 6 hours to overnight.
Remove the cabbage from the salt water and squeeze out as much moisture as possible from the leaves.
Combine the garlic, ginger, fish sauce and honey in food processor and blend until very finely minced. Stir in the chili powder.
Combine the green onions, cabbage and spice mixture, mixing well to coat all the cabbage leaves. Divide the cabbage into quart canning jars, pressing down firmly to remove any air bubbles. Seal the jar with plastic wrap and an elastic band. Let sit at room temperature for 72 hours or longer to ferment. Once fermented to your taste it can be stored in the refridgerator up to 3 months.
Amy
It is traditionally done with Napa cabbage but I used the standard green cabbage from our CSA baskets. If you can not find the Korean chili powder (gochugaru) you can use Chili Garlic Sauce.
Adapted from Mark's Daily Apple
3 pounds cabbage
3/4 cup kosher salt
8 to10 cloves of garlic, peeled
4 inch piece of ginger, peeled and roughly chopped
3 tablespoons fish sauce
1 tablespoon honey
1/2 to 3/4 cup Korean red chili powder
8 to10 scallions, chopped into 1 inch pieces
Cut the cabbages lengthwise into quarters and then across into 1 inch thick ribbons. In a big bowl, dissolve the salt in 8 cups of cold water. Transfer the cabbage to the bowl and use your hands to toss it in the salt water. Cover the bowl with a towel and leave it to rest for 6 hours to overnight.
Remove the cabbage from the salt water and squeeze out as much moisture as possible from the leaves.
Combine the garlic, ginger, fish sauce and honey in food processor and blend until very finely minced. Stir in the chili powder.
Combine the green onions, cabbage and spice mixture, mixing well to coat all the cabbage leaves. Divide the cabbage into quart canning jars, pressing down firmly to remove any air bubbles. Seal the jar with plastic wrap and an elastic band. Let sit at room temperature for 72 hours or longer to ferment. Once fermented to your taste it can be stored in the refridgerator up to 3 months.
Amy
Wednesday, September 21, 2011
Rhubarb Chutney
Chutneys are one of my favourite condiments and a standard of our fall canning regime. Normally I do peach chutney but this year I was inspired by a recipe I saw for rhubarb chutney.
Chutneys also make an excellent marinade or sauce for grilled chicken.
Adapted from Deanna's Daughter, Makes 8 to 10 Half-Pint Jars
8 cups rhubarb, roughly chopped
6 cups onion, diced
2 cups raisins
4 cups brown sugar
4 cups cider vinegar
2 teaspoons salt
2 teaspoons cinnamon
1 teaspoon nutmeg
3 teaspoons pickling spice
Place the pickling spice into a square of cheese cloth and tie into a bundle. In a large heavy bottomed pot, combine all of the ingredients including the bundle of pickling spice.
Bring to a boil over medium heat, stirring constantly. Simmer for an hour to thicken.
Sterilize and prepare the jars.
Chutneys also make an excellent marinade or sauce for grilled chicken.
Adapted from Deanna's Daughter, Makes 8 to 10 Half-Pint Jars
8 cups rhubarb, roughly chopped
6 cups onion, diced
2 cups raisins
4 cups brown sugar
4 cups cider vinegar
2 teaspoons salt
2 teaspoons cinnamon
1 teaspoon nutmeg
3 teaspoons pickling spice
Place the pickling spice into a square of cheese cloth and tie into a bundle. In a large heavy bottomed pot, combine all of the ingredients including the bundle of pickling spice.
Bring to a boil over medium heat, stirring constantly. Simmer for an hour to thicken.
Sterilize and prepare the jars.
Ladle the hot mixture into the jars, leaving 1/2 inch of head space. Remove any air bubbles. Wipe the rims and seal the lids.
Process in a boiling water bath for 10 minutes. Store in a cool, dark place for up to a year.
Amy
Labels:
canning,
fruit,
garden,
indian,
local,
preserves,
self sufficient,
vegetarian
Friday, September 2, 2011
Bread & Butter Pickles
From William Sonoma: The Art of Preserving, By Rick Field and Rebecca Courchesne, Makes 6 Pint Jars
6 pounds cucumbers, cut into 1/4 inch slices
1 yellow onion, cut into 1/4 inch slices
3 tablespoons kosher salt
6 ice cubes
4 cups cider vinegar
1/4 cup sugar
1 teaspoon turmeric
2 teaspoons mustard seeds
1 teaspoon celery seeds
1/2 teaspoon red pepper flakes
In a large bowl, combine the cucumbers and onion. Add 1 tablespoon of the salt and the ice cubes. Refrigerate for 3 to 4 hours. Remove the excess liquid, rinse and set aside to drain well.
Sterilize and prepare 6 pint jars.
In a large saucepan, combine the vinegar, sugar, turmeric and remaining 2 tablespoons of salt. Add 1-1/2 cups of water and bring to a boil. Stir to dissolve the salt.
To the cucumbers and onions, add the mustard seed, celery seed and red pepper flakes. Stir to coat the cucumbers in the spices. Pack the cucumber mixture into the jars as tightly as possible, leaving a 1/2 inch air space.
Ladle the hot brine into the jars, covering the cucumbers but leaving the 1/2 inch of headspace. Remove any air bubbles. Wipe the rims and seal the lids.
Process in a boiling water bath for 7 minutes. Let the jars rest for 2 weeks.
Store in a cool, dark place for up to a year.
Amy
6 pounds cucumbers, cut into 1/4 inch slices
1 yellow onion, cut into 1/4 inch slices
3 tablespoons kosher salt
6 ice cubes
4 cups cider vinegar
1/4 cup sugar
1 teaspoon turmeric
2 teaspoons mustard seeds
1 teaspoon celery seeds
1/2 teaspoon red pepper flakes
In a large bowl, combine the cucumbers and onion. Add 1 tablespoon of the salt and the ice cubes. Refrigerate for 3 to 4 hours. Remove the excess liquid, rinse and set aside to drain well.
Sterilize and prepare 6 pint jars.
In a large saucepan, combine the vinegar, sugar, turmeric and remaining 2 tablespoons of salt. Add 1-1/2 cups of water and bring to a boil. Stir to dissolve the salt.
To the cucumbers and onions, add the mustard seed, celery seed and red pepper flakes. Stir to coat the cucumbers in the spices. Pack the cucumber mixture into the jars as tightly as possible, leaving a 1/2 inch air space.
Ladle the hot brine into the jars, covering the cucumbers but leaving the 1/2 inch of headspace. Remove any air bubbles. Wipe the rims and seal the lids.
Process in a boiling water bath for 7 minutes. Let the jars rest for 2 weeks.
Store in a cool, dark place for up to a year.
Amy
Subscribe to:
Posts (Atom)